|
Photo Page:
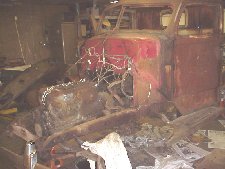
Here are some pictures of the truck just after it was loaded on the trailer.
The rest of the pictures are in somewhat of a sequencial order of the restoration.
|
|
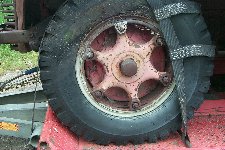
Old tires with split rims.
|
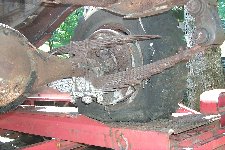
The under carriage is mostly surface rust.
|
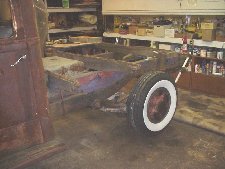
You can see the old rotted wooden box.
|
|
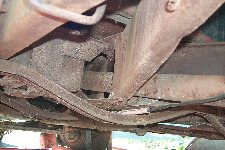
More of the undercarriage.
|
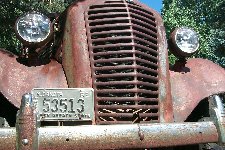
Front grill - not sure if it's painted or chrome.
|
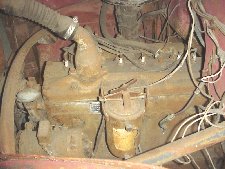
The motor. Not sure if it's a Continental or Hercules yet.
|
|

Kinda rusty!
|

The data plate - the numbers are still readable.
|

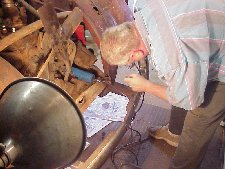
Dave started work on removing the hood, radiator and grill.
|
|

Al & I removed the rear hub. Wasn't to difficult, just heavy.
|
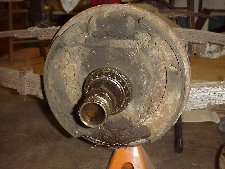
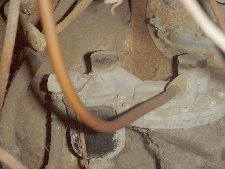
Rear brake. So much dirt you can barely see the brake shoes.
|

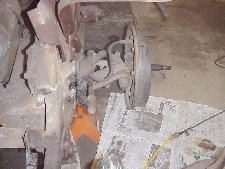
Front hub came off just like any standard vehicle.
|
|

The radiator and shell removed. Lots of dirt and grease.
|

The radiator looks in good shape but it will have to be tested & cleaned.
|
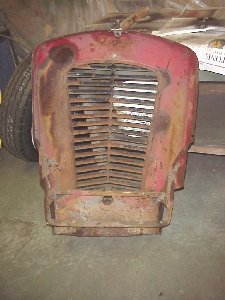
Inside of radiator shell.
|
|
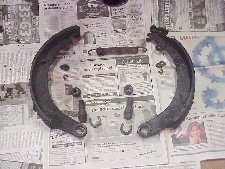
Rear brake shoes and parts.
|

Rear baking plate. The brake cylinder will be removed and restored.
|

Al & Dave removed the front fenders, braces and fender liners.
|
|
With the fenders removed, we have easy access to the steering gear box and the master brake cylinder.
|
Removal of the front fenders was made extra difficult by a previous welded repair.
|
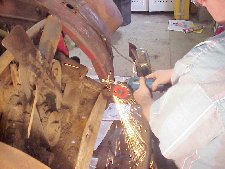
Al used a grinder to remove the last obstacle.
|
|
Clearing away the passenger side gave us access to the water pump, fuel pump and distributor.
|

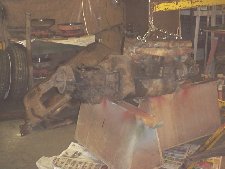
The motor!
|

Dave removing flywheel housing bolts prior to removing engine.
|
|
To make it easier to remove the engine, we had to unbolt the cab and slide it back along the chassis
|
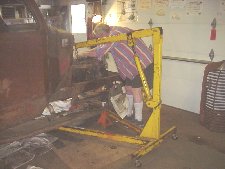
Al getting the engine hoist in place.
|

Dave and Al disconnecting everything so we could slide the cab back.
|
|
The engine is now ready to be lifted out.
|
The engine is out! Next week we will take it to the rebuilder.
|

The firewall. I hope we can reproduce the wiring harness.
|